How to use Product Panels to increase conversions

Studies have shown that personalisation can generate up to a 6% increase in revenue per visitor. So how do you get the best of Recommend to increase your traffic, improve conversion and, most importantly, the relationship with your customers? By showing them product recommendations with our Panels and Panels Placement features.
When interacting with your brand, the consumer’s perspective is pretty simple: you should attract their attention and generate an impact that translates into sales. By analysing the data coming from your site, Recommend helps your brand determine which message is the most effective depending on the type of user.
Who are your visitors, and what are they looking for?
If you have an eCommerce website, you must have your content ranked. The content ranking is the order in which the categories or products are on any page. Usually, products are organised based on novelty, price, and rating. However, the relevance of this content in your personalisation strategy is directly related to the visitors.
- Do these users have visited your site before?
- Have they bought something?
- Have they shown interest in a specific article or category?
The same happens with the status of those visitors. For example, a user who visits your website for the first time is probably interested in seeing the “trend” or “most popular” products. On the other hand, a frequent visitor is looking for new products or collections, special offers, or complementary products.
The combinations are endless if you base your strategy on analysing the data collected by the platform. The segmentation of your audience can be as granular as you want and the messages you send to this audience.
What are the panels, and how to use them on your website?
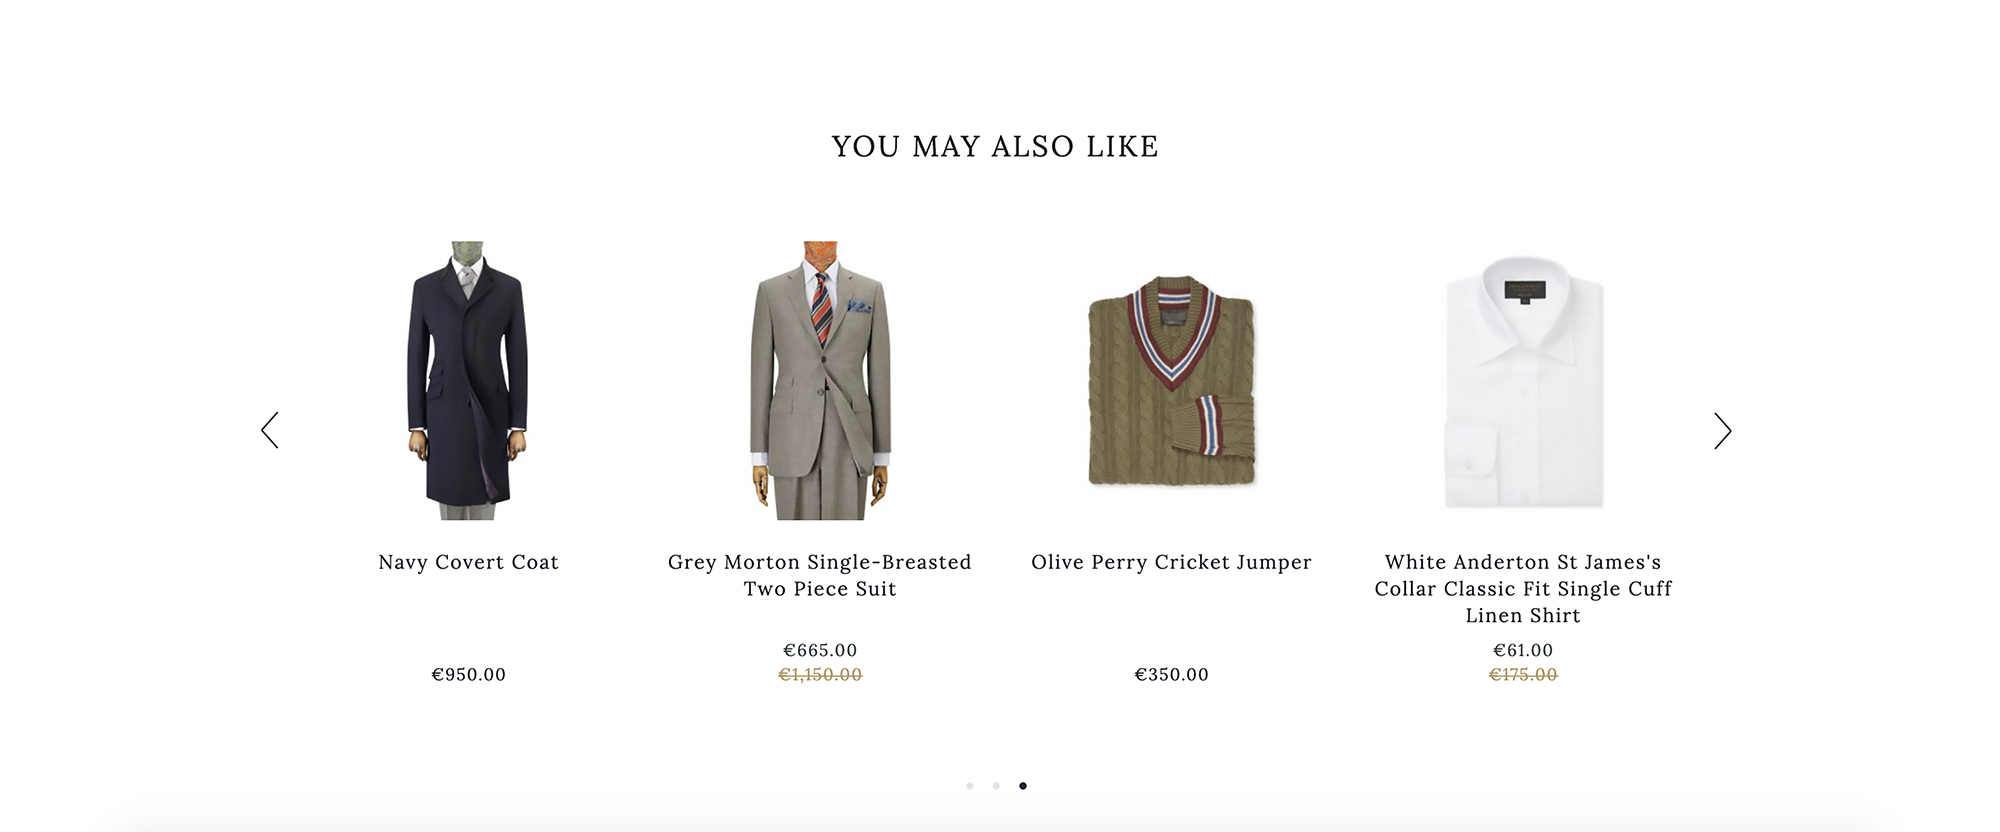
The panels under “Recommendations” in your dashboard are modules that fit into the pages of your website to show personalised content or product recommendations. For example, the homepage is a typical placement for “popular” or “trending” in the case of’ product recommendations’. At the same time, the shopping cart page often shows “other users also bought” or “bought together.”
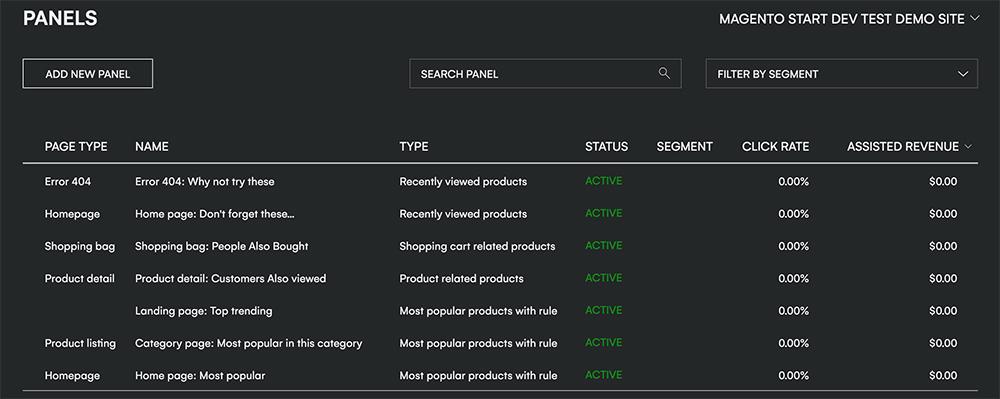
Add New Panel
If you want to place a panel on your website, you need to create it based on the type of content or products you want to show. First, click on “Add New Panel” and introduce the information requested on each field:
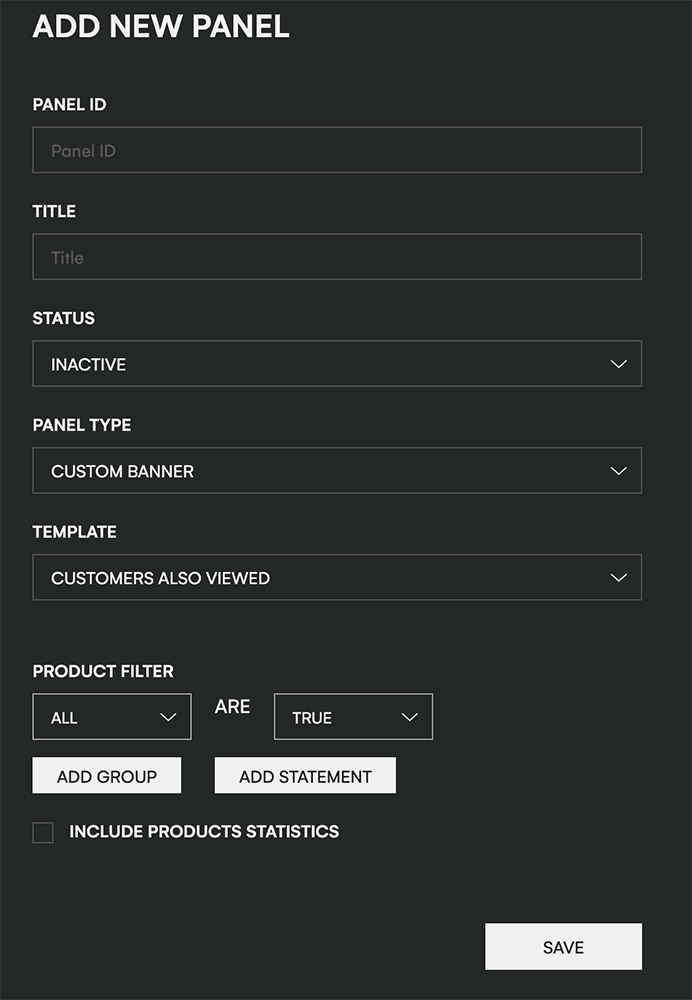
- Panel ID: This is the name that will be displayed in the URL. It’s recommended to be descriptive and use keywords related to the content of the panel.
- Panel Title: This is for internal use, but we recommend being descriptive and using keywords that help you identify it quickly.
- Status: The panel is “Inactive” by default while you are creating it. The “Preview Mode” displays the panel before going live (only to those who are ‘admins’ in Recommend.) “Active” means the panel is visible on your site.
- Panel type: Here, you can find some categories by default, the most common among eCommerce websites. However, we also have a “Custom banner” if you want to add another type of content. Templates: You have available some predetermine panels that you can use on your website.
- Product filter: Here, you can determine how the panel must work by setting up the price, category, if the product has a discount, SKU, etc.
Customer segments
Customer segmentation is vital in your personalisation strategy. Remember that each of your visitors is unique, and the factors that brought them to your website are also different. As we mentioned above –when we explained who are your visitors and what are they looking for– a first-time visitor wants to see the most popular while a frequent user is looking for something more specific.

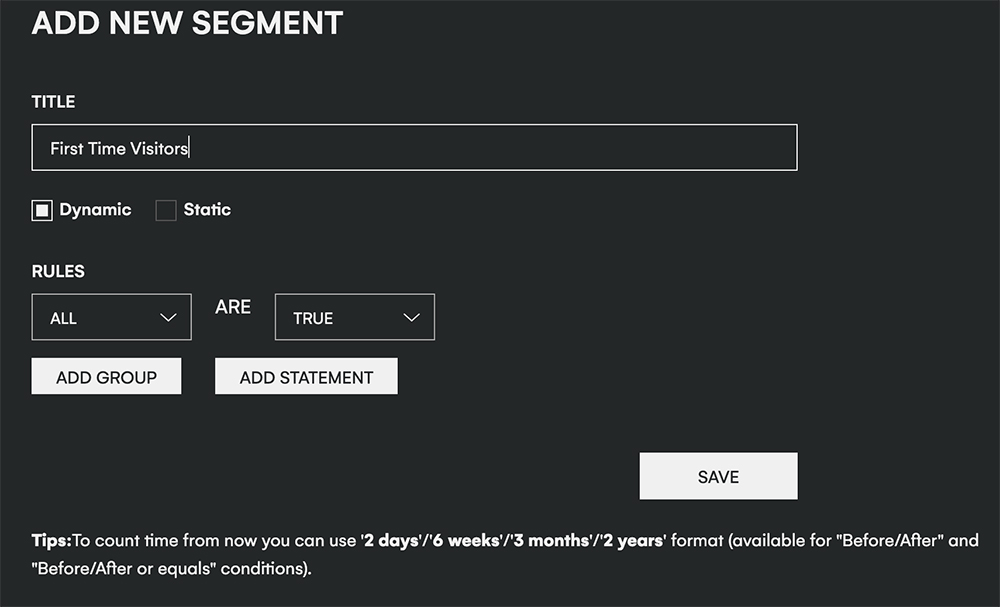
Add New Segment
To create a new customer segment, go to Recommendations > Customer segments in your dashboard. First, choose the title of your segment based on their behaviour or interests. Then, go to Rules to determine the type of visitor that you are targeting. For example, you can target people by average order value, device, the date of the first visit, products on the shopping cart, etc.
Panel Placement
Once you have your segments and panels created, it’s time to place those panels on your website. As we said before, the most commonplace for “popular” or “trending” products” is the homepage, while category pages usually show “people also bought” or “you may also like” products.
By default, we have chosen some page types such as Homepage, Product listing, Product detail, Shopping cart and Error 404. However, you can customise the placement of your panels by adding additional rules.
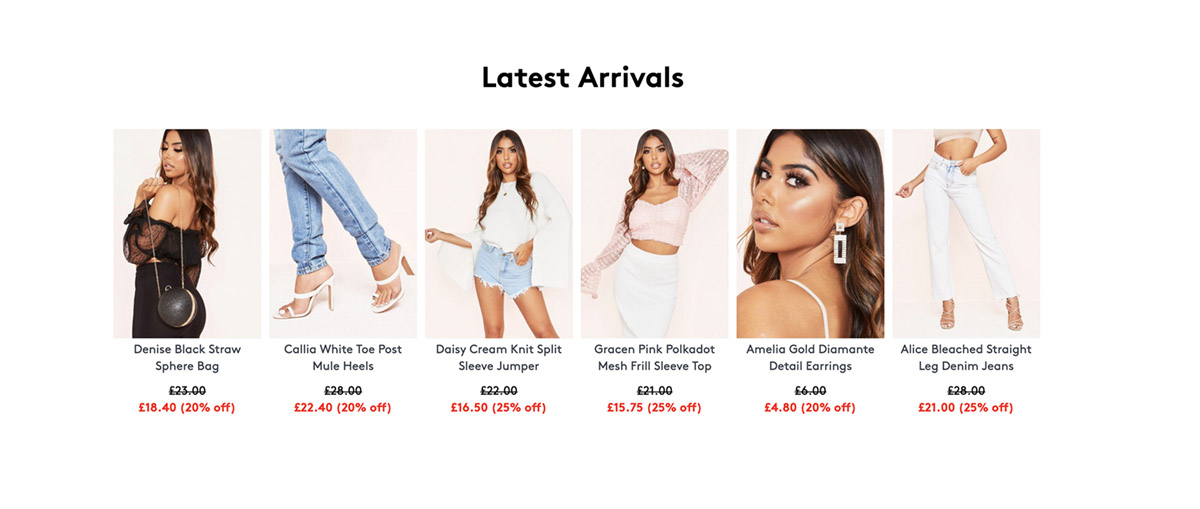
Homepage
This is a panel on the homepage of Missy Empire.
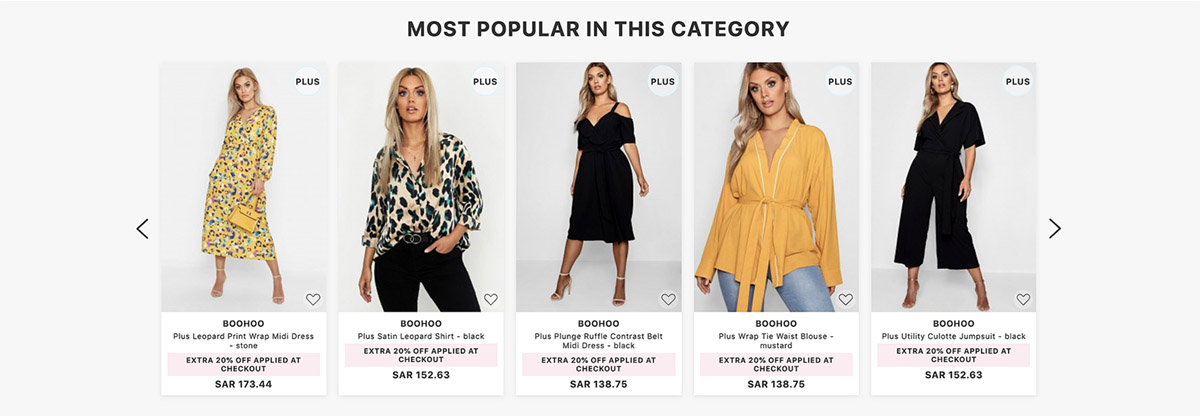
Shopping cart or category page
This is a panel on the category page for the plus size clothing of VogaCloset.
My panel is ready…Now what?
Now it’s time to start tracking your conversions and improving the relationship with your visitors. Having these product recommendations panels placed on your website is extremely useful. From a customer point of view, it shows that a brand is speaking to them personally. By showing relevant content, users will be more motivated to come back or complete a purchase.
Request a Demo.
If you haven’t implemented a personalisation platform as a part of your Marketing strategy, What are you waiting for? Personalisation is a vital part of any eCommerce business. Recommend allows your business to grow in the right direction while curating a personalised shopping experience for your visitors. Request a demo by clicking the button below:
